

The survey is a check, not a pitch: a surveyor comes to confirm what we read from above and to see what the air can’t. Here is what they look at, what to have ready, and what happens once they’ve gone.
What the survey is for
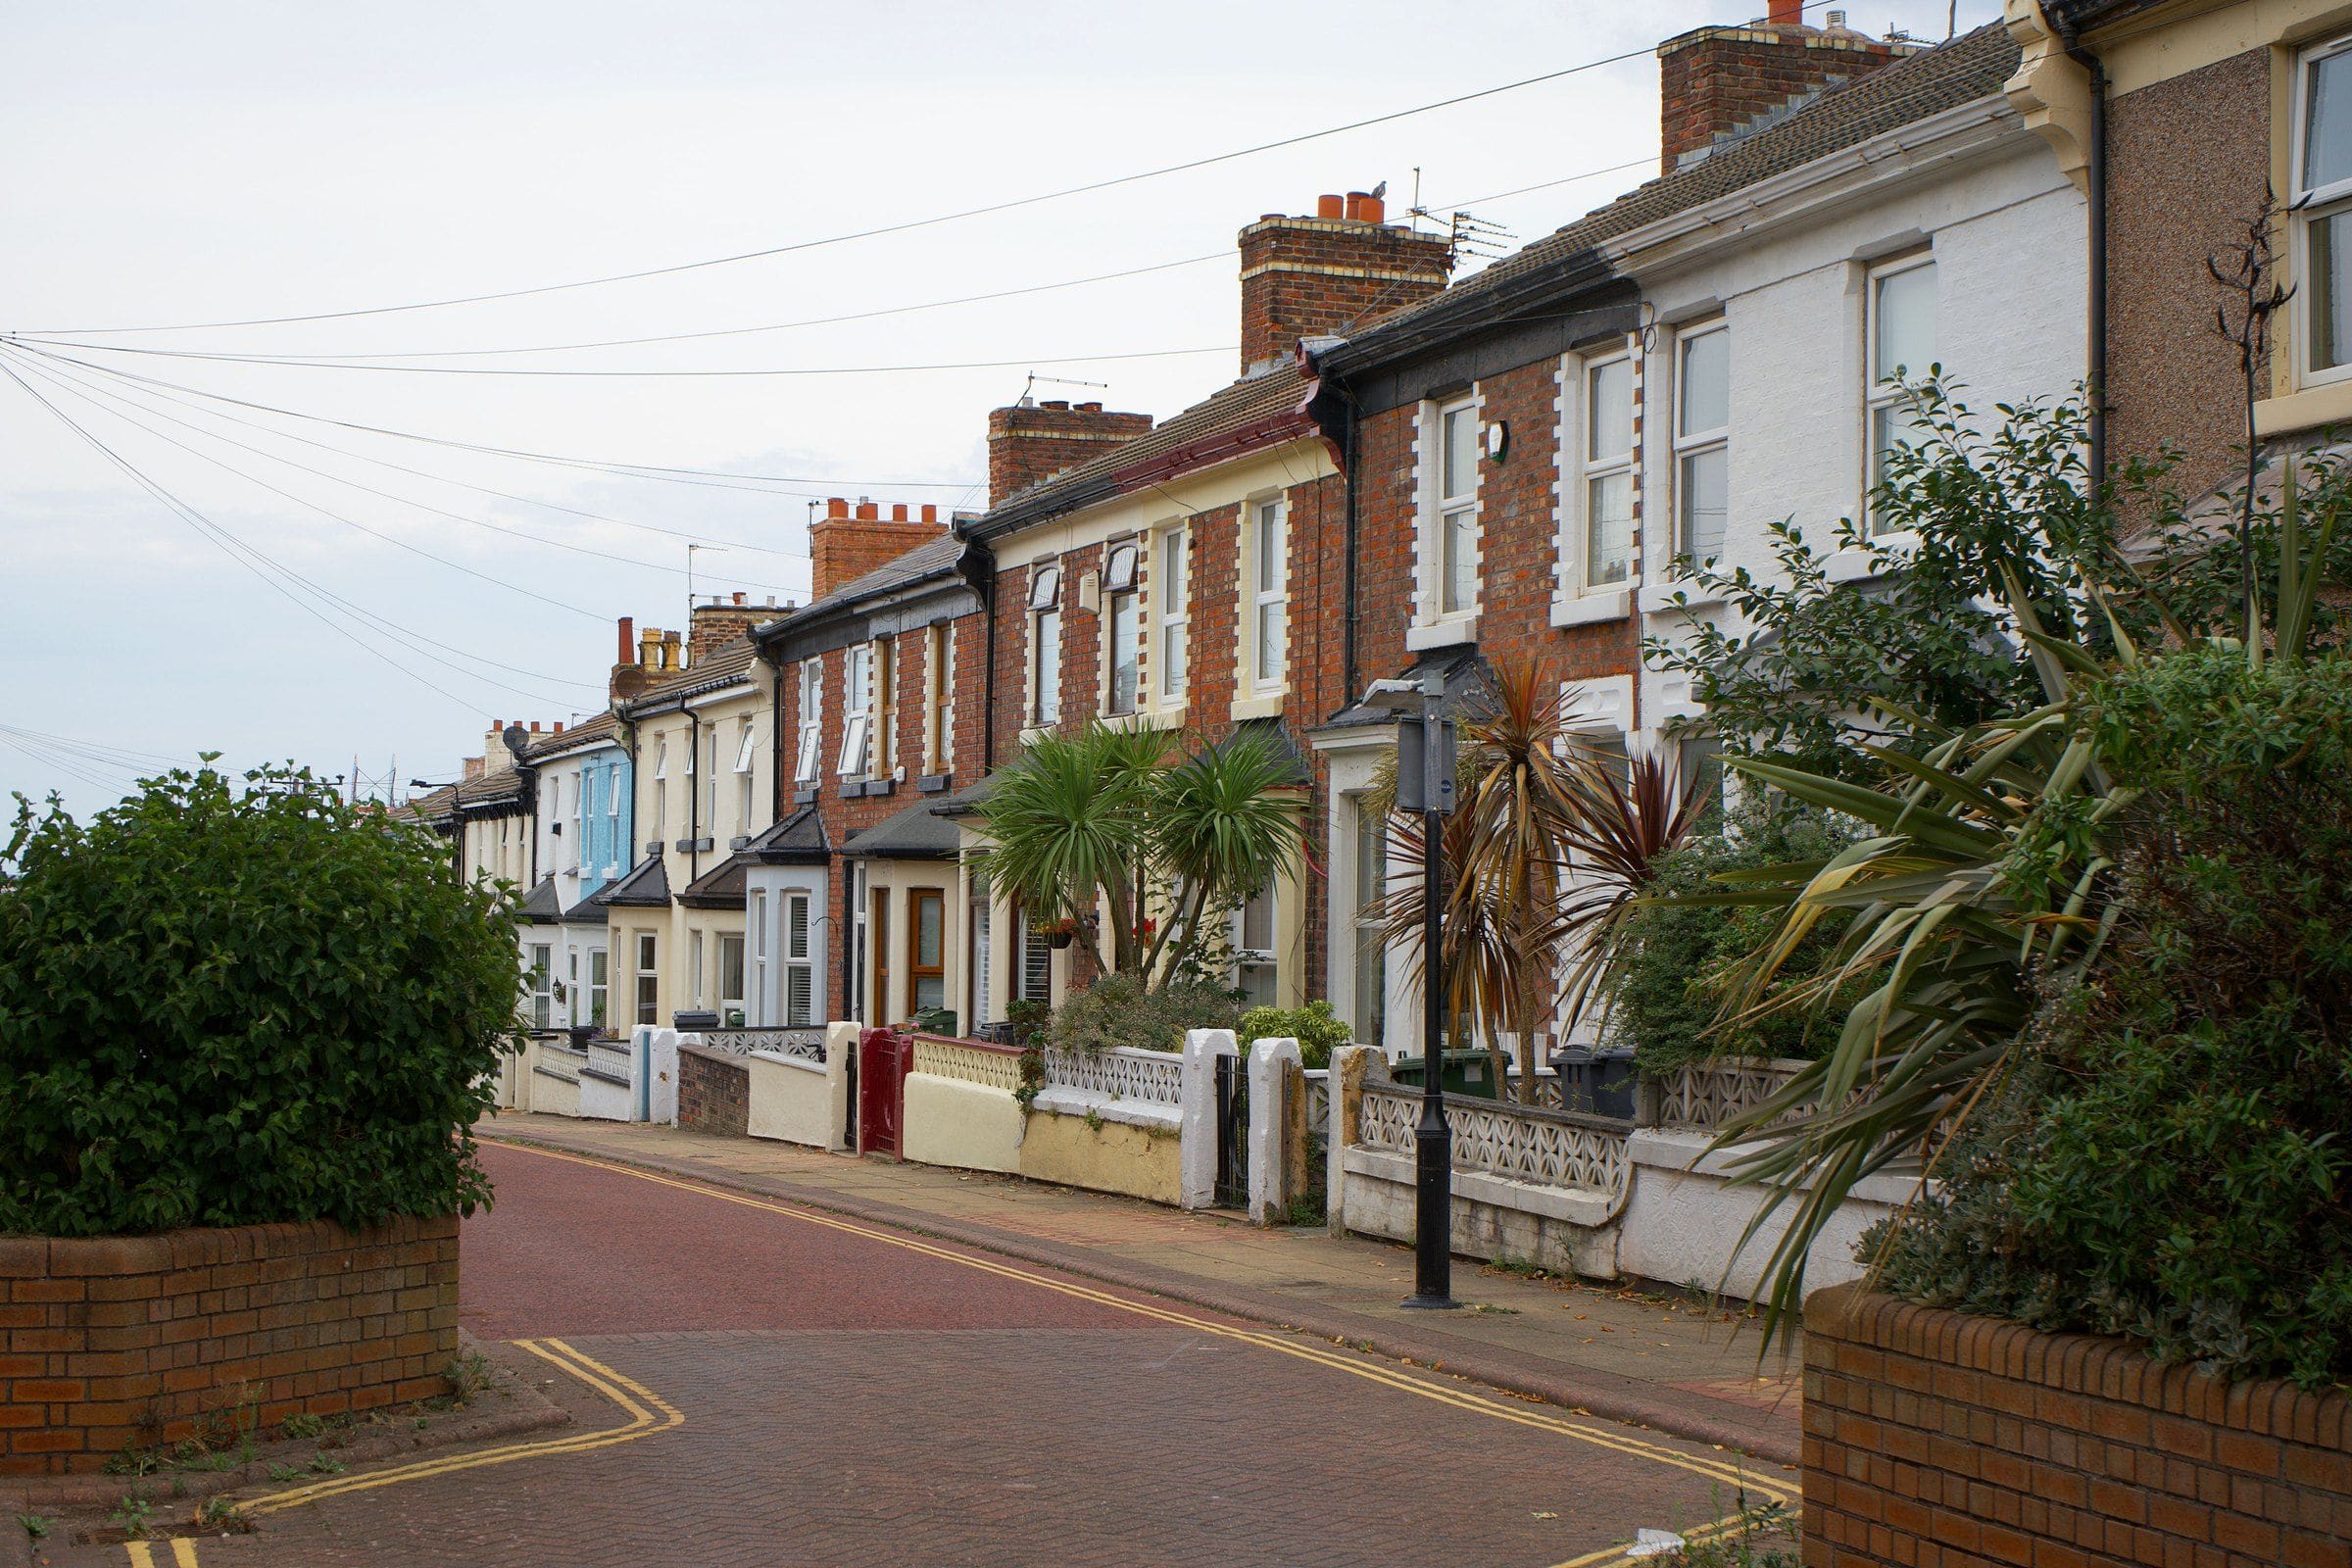
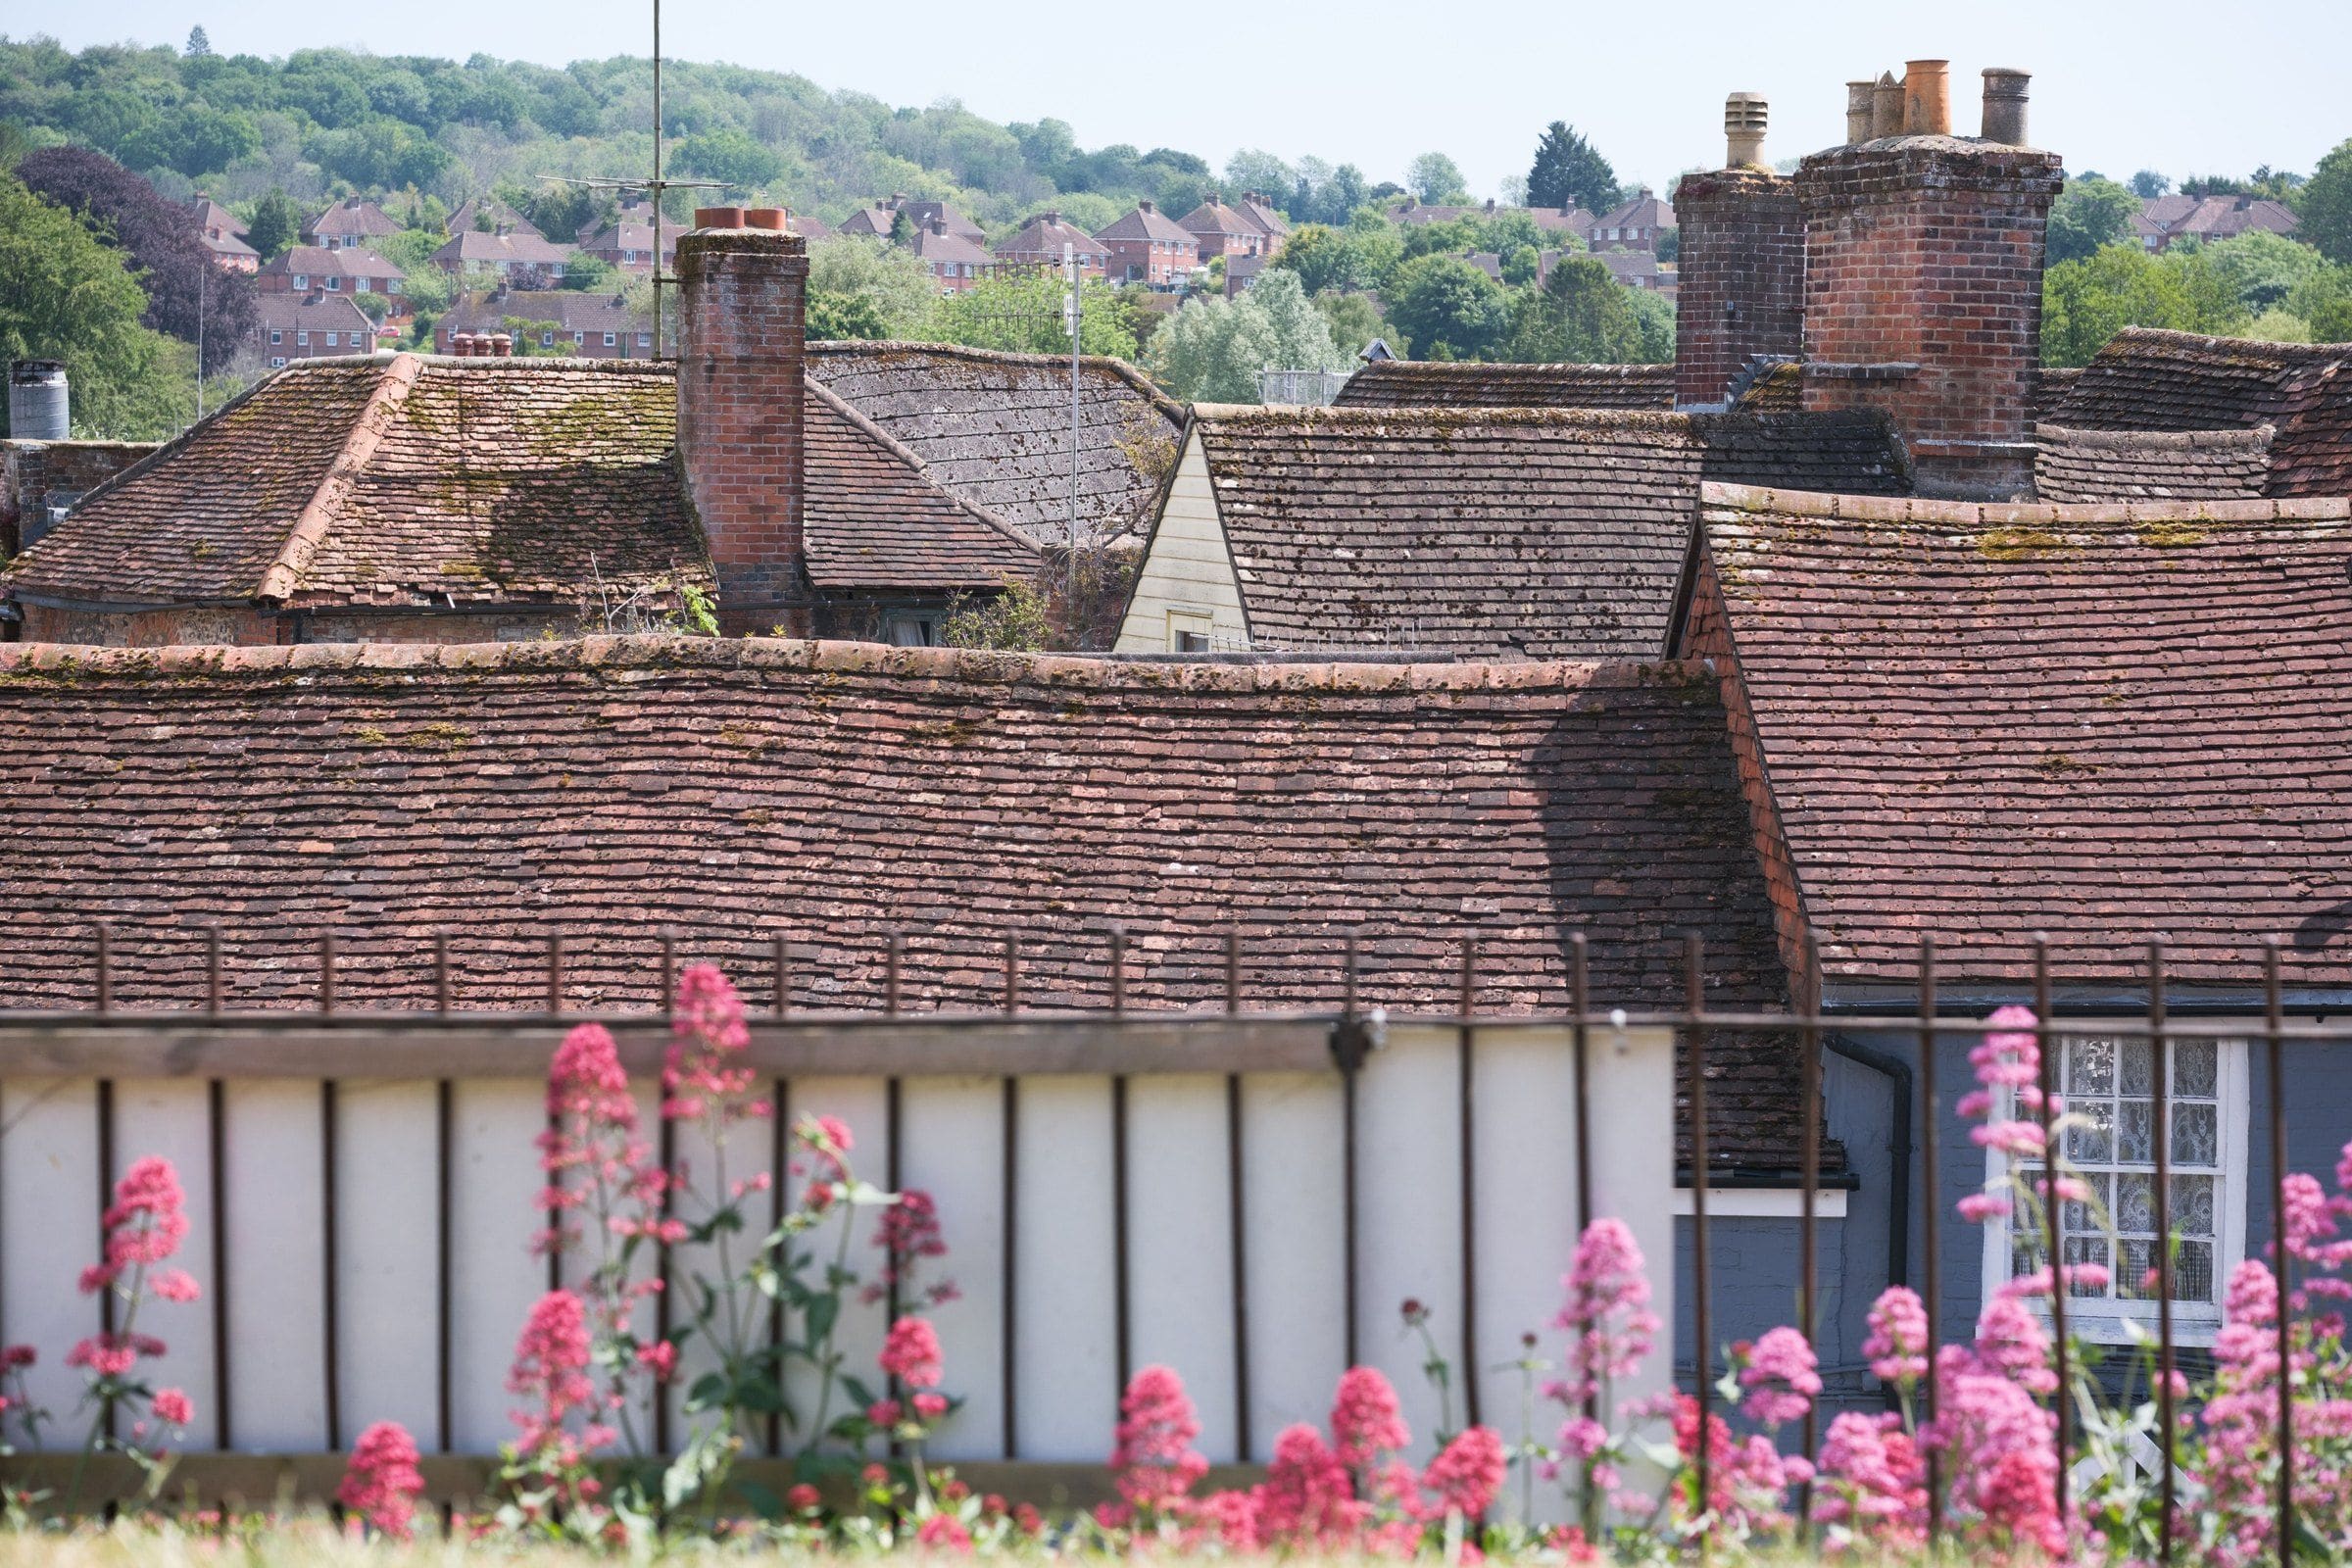
By the time a surveyor arrives, your roof has already been read from above and priced. The pitch, the way it faces, the usable area, the shading, the obstructions and the covering are all on the estimate. The survey’s job is to confirm those numbers, and to see what imagery can’t: the timber under the covering, the loft, the electrics and the space around the house.
The surveyor measures, checks, photographs and explains. Then they leave.
It is also your best chance to picture the job. Ask where the panels would go, where the inverter would sit and which way the cable would run, so nothing about the install is a surprise.
How long it takes depends on the house. A simple roof, an easy loft and a consumer unit in plain sight make for a quicker visit than a crowded roof, a loft packed with storage or a fuse box behind a cupboard full of coats. Most of the time goes on looking and measuring, not on talking.
The roof and the loft
The first checks are about whether the roof can carry the array, and where the fixings go.
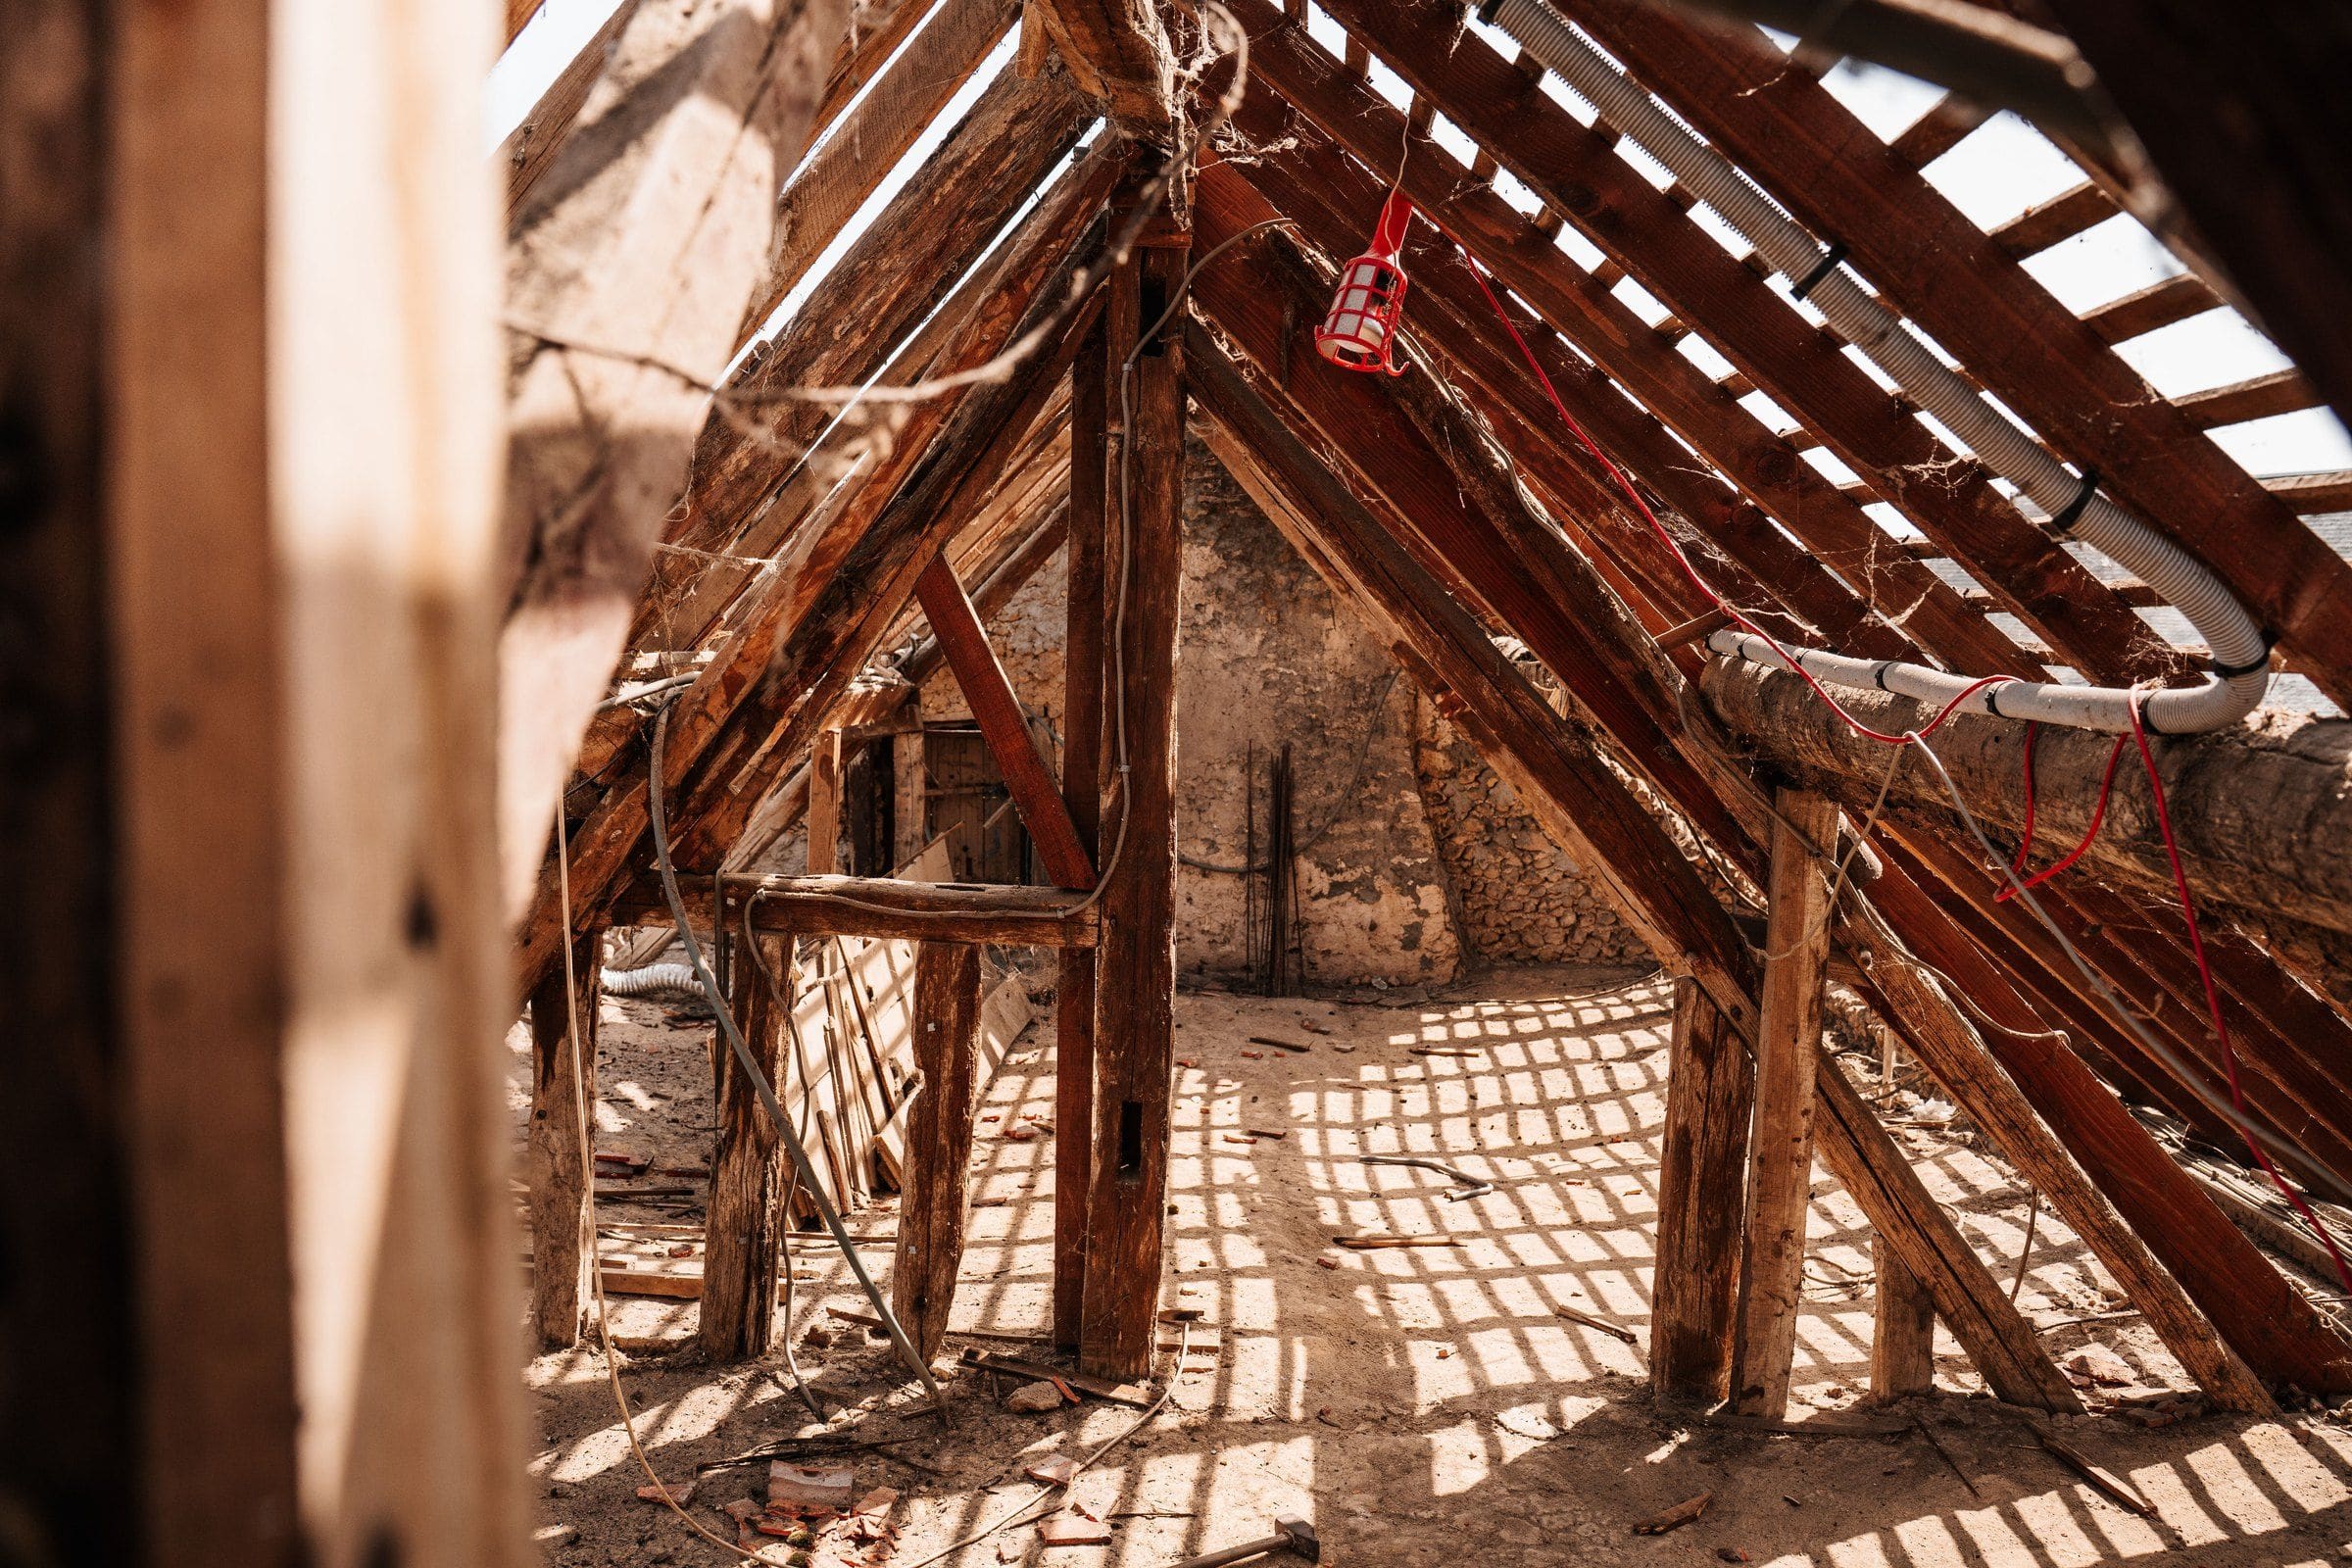
- Rafters and battens, sound for the rails. The rails are fixed through to the timber, so the timber has to be up to it. If rafters need extra fixings, that can move the price.
- The covering, where the fixings go. Slate, tile or flat, and the condition it’s in: cracked, slipped or missing pieces are easier to put right before an array sits on top of them.
- A route through the loft for the cable, from the array down to where the inverter will go.
This is why the loft hatch matters. Much of what the surveyor needs to know about the roof is seen from underneath it. If your loft has been converted, or is boarded and full, mention it when you book, so the surveyor knows what to expect.
The electrics
Solar connects to your home’s wiring, so the surveyor looks at where it will join.
- Room in the consumer unit for the solar circuit. It needs its own place in your fuse box, so the surveyor checks whether there is room, or whether the unit needs work first.
- Earthing and the meter. Both are checked before anything new is connected to them.
- A wall for the inverter, close enough to the cable route and the consumer unit to keep the runs sensible.
A consumer unit that needs work is one of the things that can move a price between the estimate and the quote. That’s why it’s looked at on survey day, not discovered on install day.
If something is already connected, such as an older solar system, a car charger or a battery, point it out. The surveyor needs to see how it’s wired before planning around it.
Access, and a place for a battery
The last checks are about the outside of the house, and the space around it.
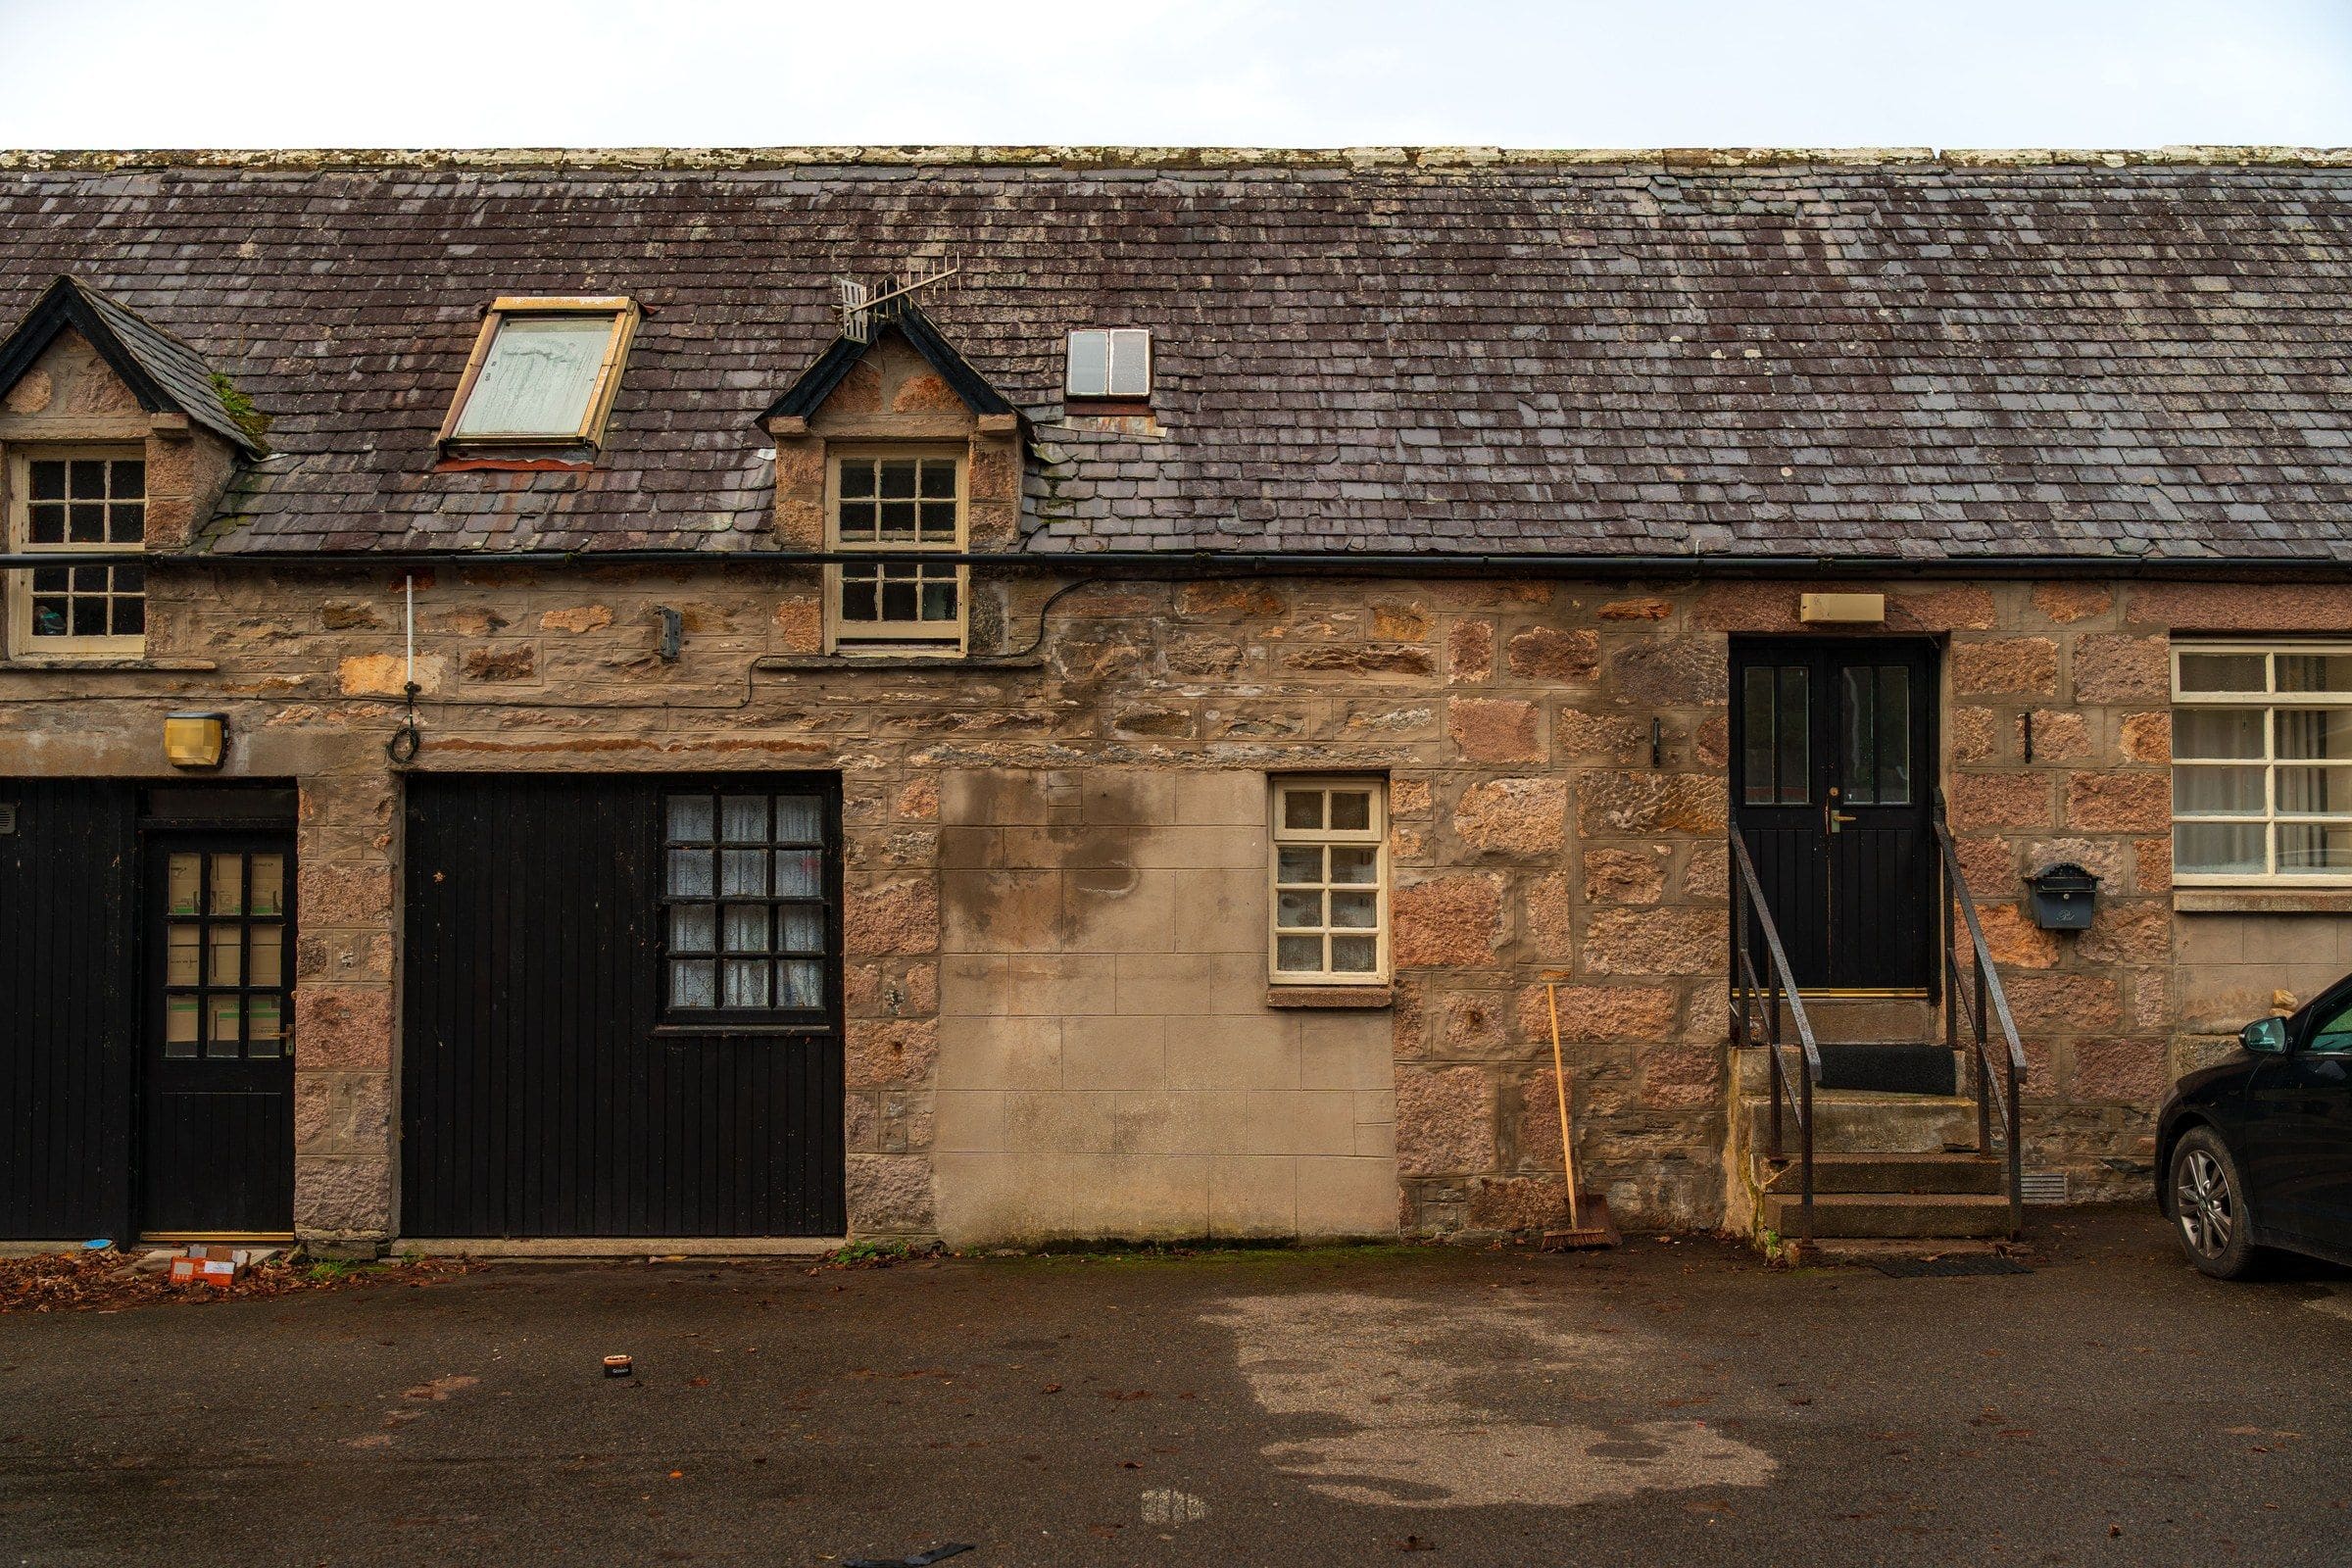
- Where the scaffold stands. It needs firm ground and a way in, so the surveyor notes anything that makes that harder: a conservatory, a narrow side path, a flower bed you’d rather keep.
- A spot for a battery, if you want one. Usually that’s a garage, a utility room or an outside wall.
If the scaffold would have to stand on a pavement or a neighbour’s ground, it’s worth knowing now, because permission may be needed before install day.
If you’re planning an electric car or a heat pump, say so when you book. Either can change the inverter we choose, whether a battery earns its place and where things go. It is easier to plan for now than to work around later.

What to have ready
Three things make the visit easier:
- Access to the loft hatch, with a clear space beneath it.
- A clear path to the fuse box and the meter.
- Any questions, however small.
A few more are worth having to hand:
- A recent electricity bill, so your use is there if it’s needed.
- Your plans for a car, a heat pump or an extension.
- A rough idea of how old the roof covering is, and whether it has been repaired.
- Any paperwork for recent electrical work, if you have it.
- Whether the house is listed, in a conservation area, or a flat. Most home solar is permitted development, but these can need planning permission, so check first.
It helps if someone who can show the surveyor round is home for the whole visit. Write your questions down beforehand. There are no silly ones, and the survey is the easiest time to ask.
Before they leave, and what happens next
Before the surveyor goes, two things happen. They take photos for the installer, so nobody asks twice. And anything that could move the price is explained to you there and then, with the reason.
The photos matter more than they sound. They let the installer see the roof, the loft and the fuse box before pricing the job. And if the survey does find something that changes the price, it isn’t the end of the conversation. You’ll have the reason, and whether to go ahead stays your choice.
Signed on the day: nothing.
The survey notes and photos go into the same file as the roof we read from above. We, your surveyor and your installer all work from that one file.
Next comes the introduction: one installer, who holds all seven requirements on our installer bar, with their quote already checked against the market. Then the install, with the grid’s approval first if the system is large enough to need it, and then sign-off: certificates issued, the grid notified and your export payments applied for.
What we do
We read and price your installation before anyone visits, so the survey is a check, not a pitch. We arrange it, and once it’s done, we introduce one installer, with their quote already checked. If anything moves the price, you’ll know why before you sign.